
|
Rotor Control Window |
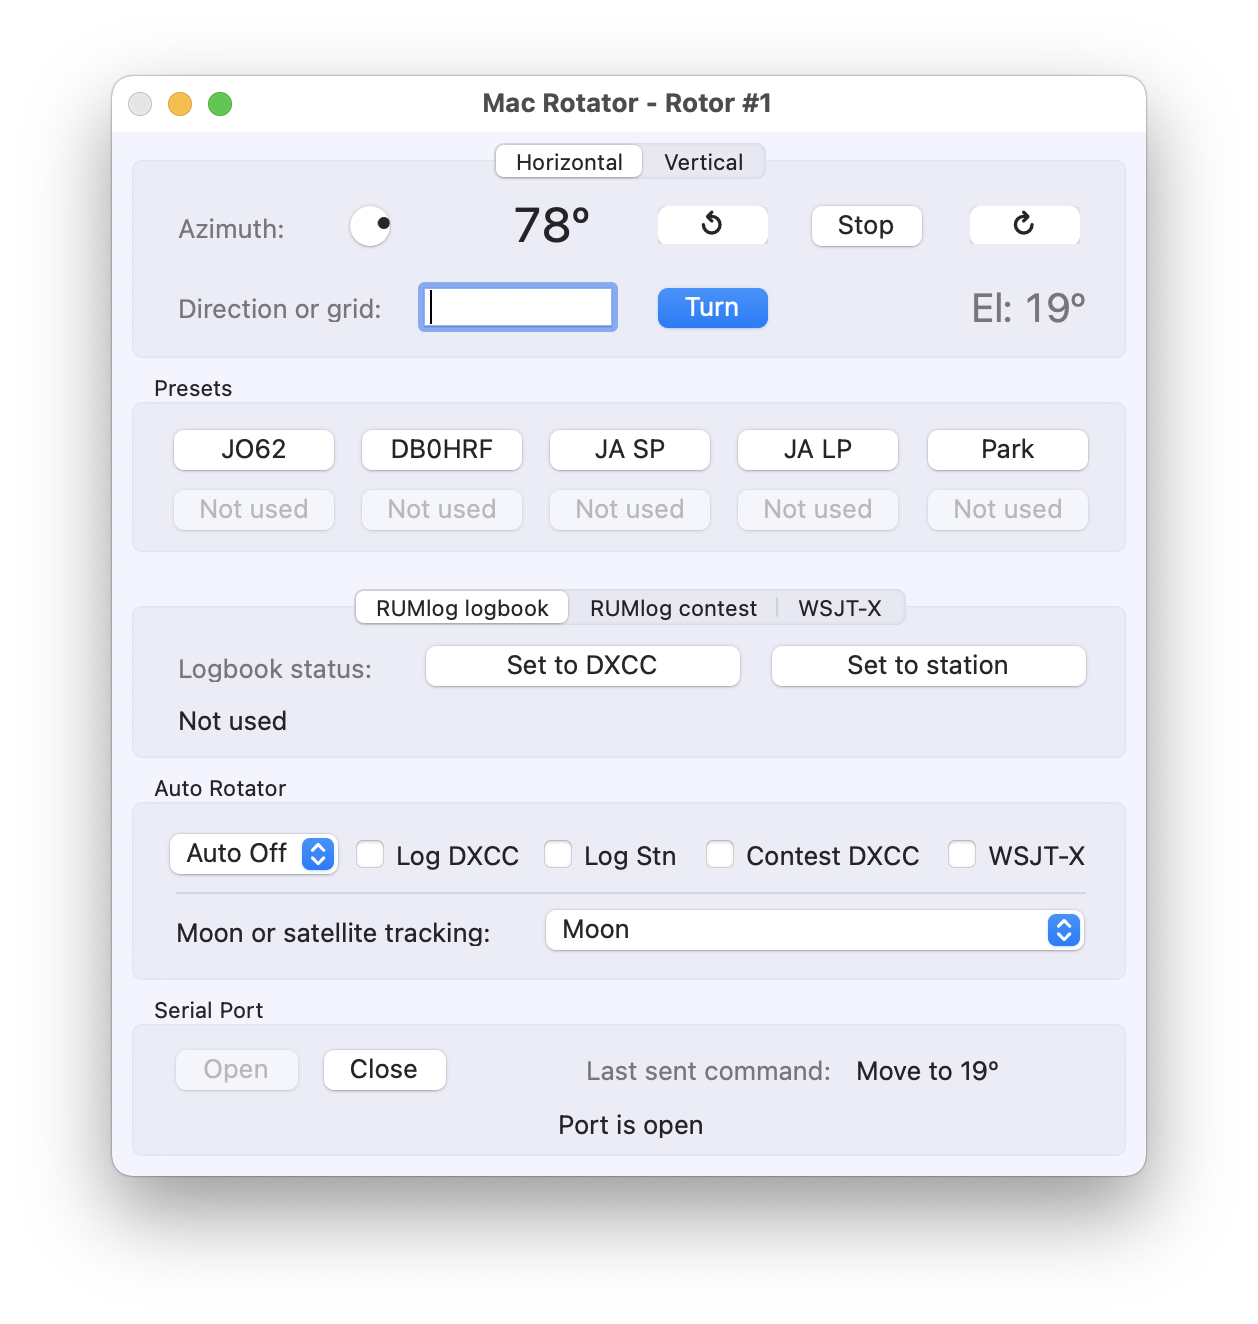
This is how it looks with a typical azimuth/elevation rotor. You cannot select the vertical tab when you have selected an azimuth only rotor.
The buttons on top are for turning your rotor and are self explanatory.
If you operate a rotor that turns both azimuth and elevation typical for satellite antennas the vertical tab is selectable as well:

In addition it shows the current azimuth in the Vertical tab and elevation in the Horizontal tab.
Presets
These are the preset azimuth headings you set in Preferences -> Presets/UI. Click on one of the presets to turn the rotor to that heading. CMD-1 through CMD-0 are the corresponding
keyboard shortcuts.
RUMlog/WSJT-X interface

If you use RumLogNG (RL) as your logger, RL will populate the Set to DXCC and Set to Station buttons depending on the call sign in the call sign box of RL. Click on either one to turn the rotor to that heading. Make sure you use the same UDP ports as configured in RL (Preferences -> Setup). It works accordingly for RL’s contest module and WSJT-X/JTDX. Just select the corresponding tab.
Auto Rotator
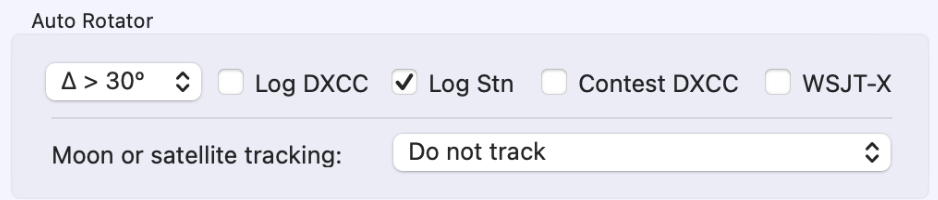
Your antenna can be turned automatically. Select from which difference in degrees you want Rotor to turn your antenna to the new heading. The following example turns your antenna whenever the difference in degrees between the current heading and the heading to the station in RL’s call sign field is greater than 30°.
Satellites and even the moon (e.g. for EME) can be tracked automatically. Refer to the section “Satellite Operations”.
Hint: All sections in the Control Window are placed on a scroll view. You can reduce the window height to save desktop space. Scroll to an often used section.